Shoulder Stability Program
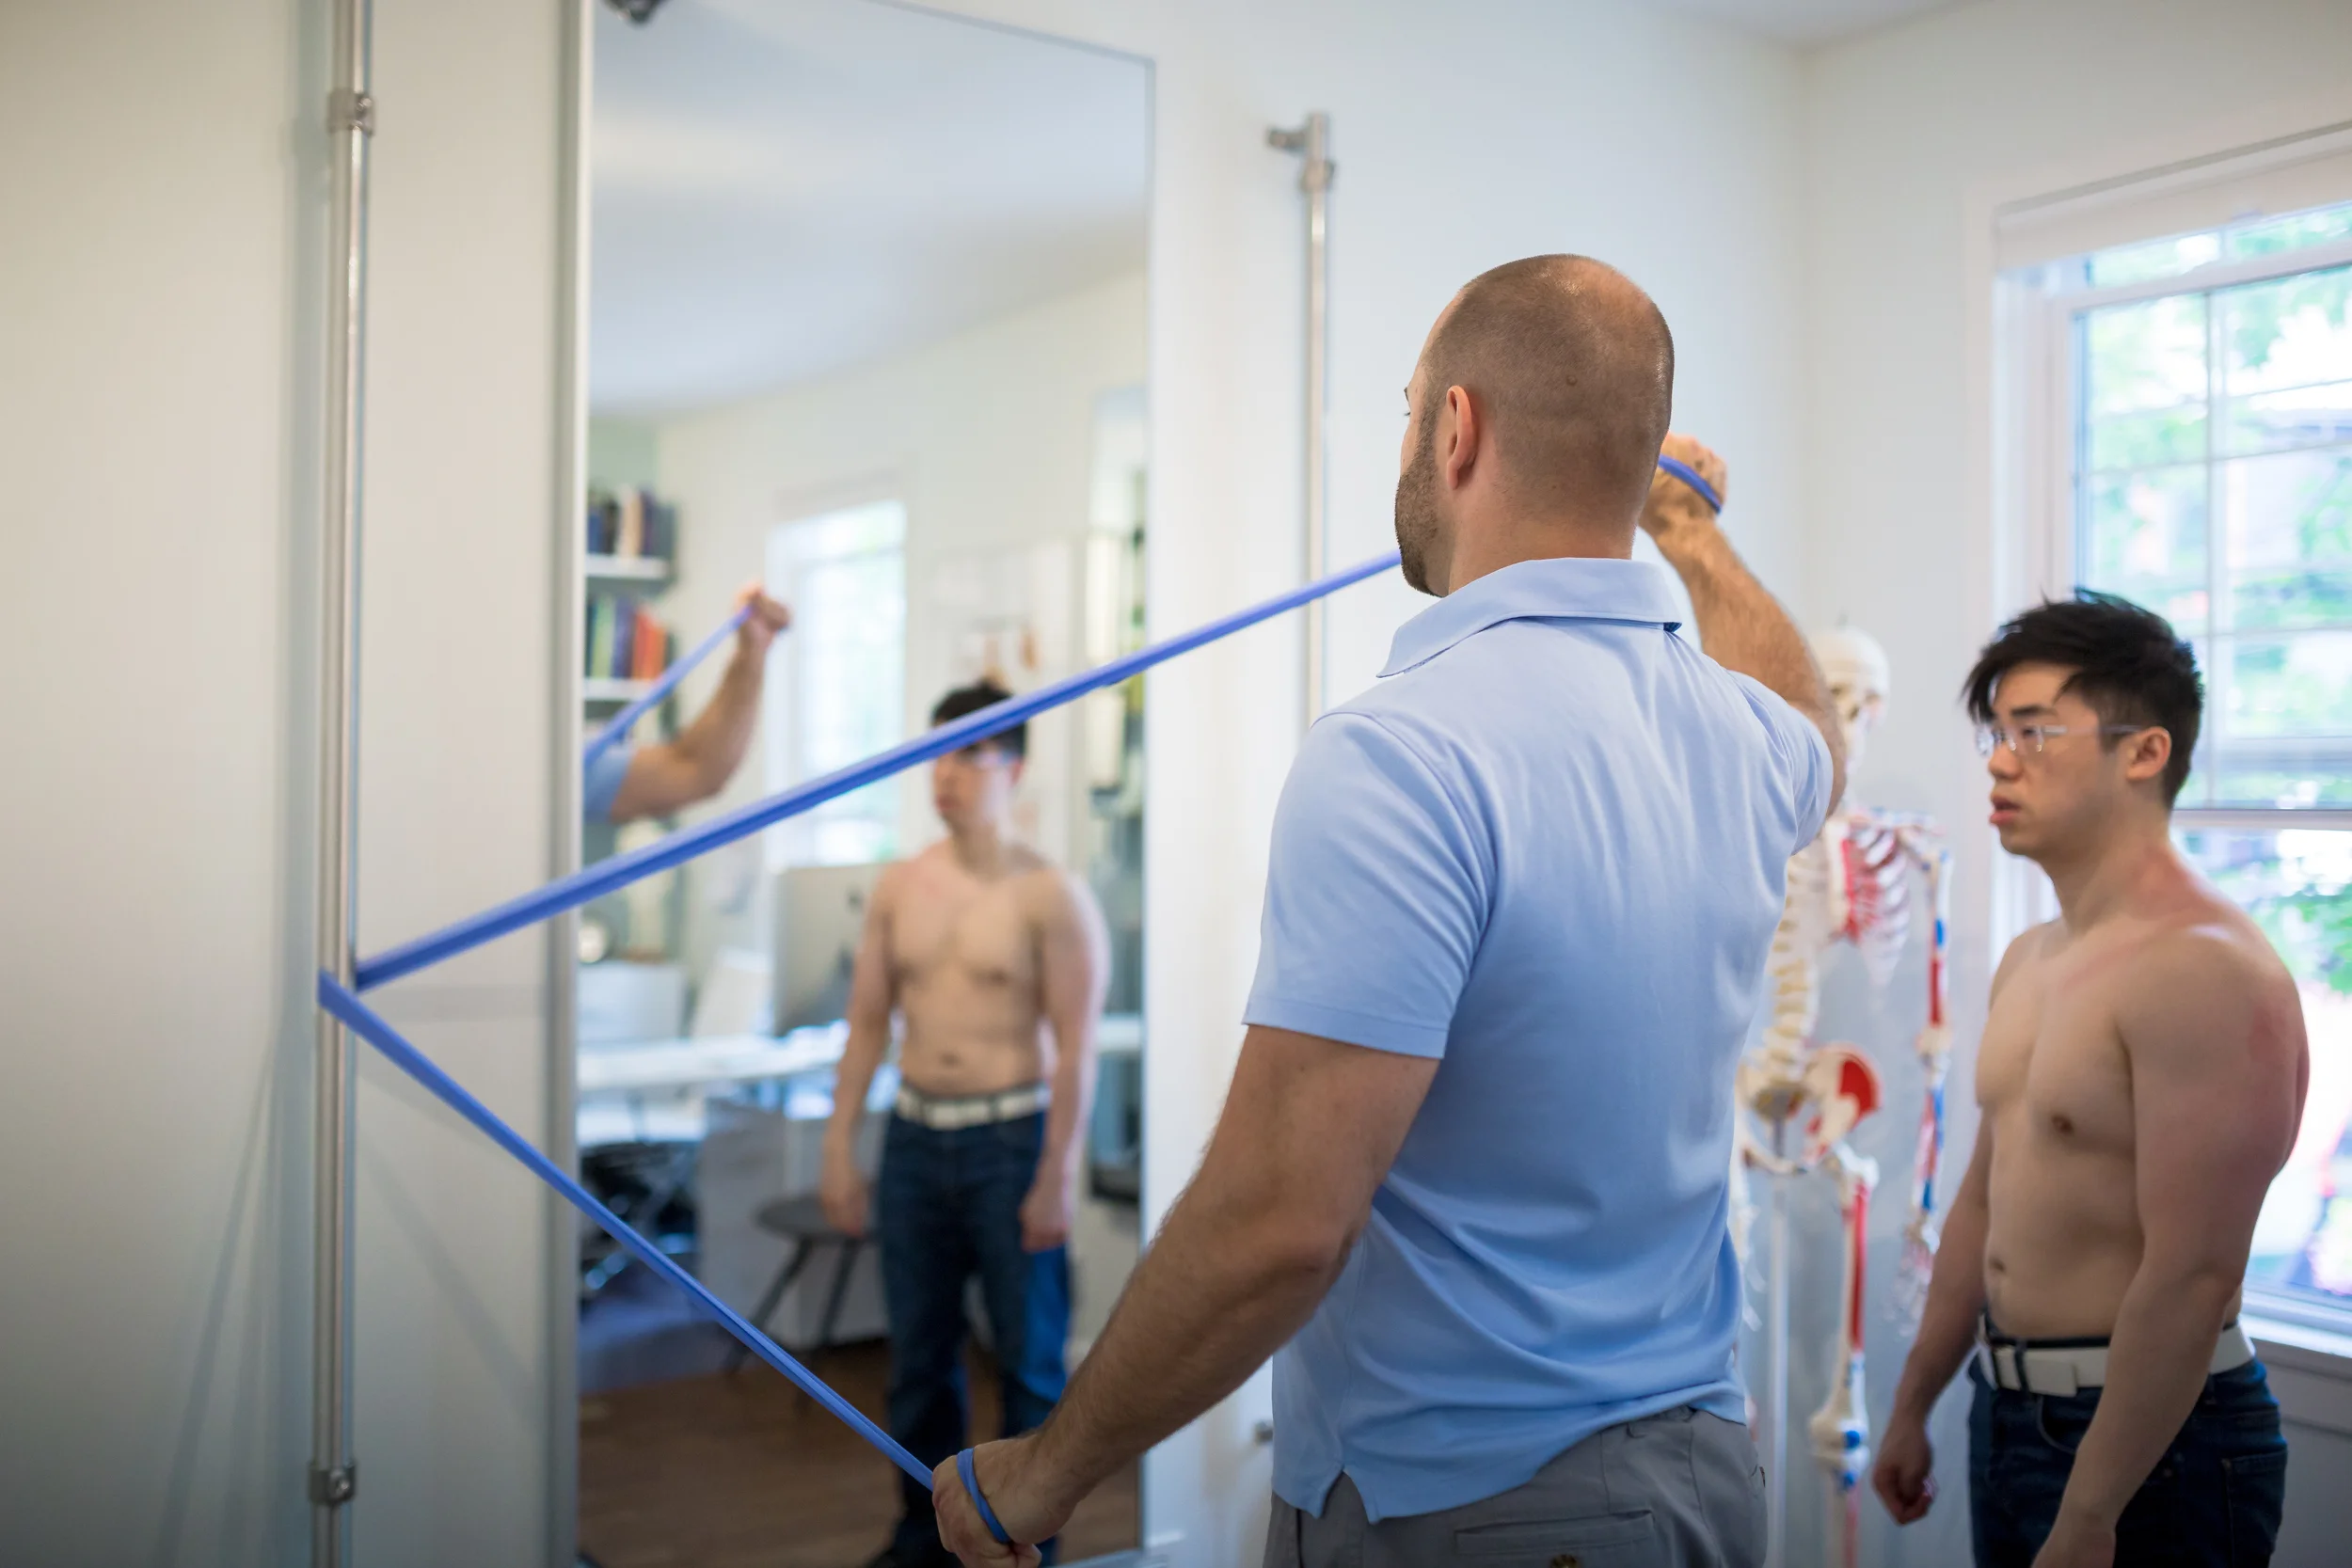
It is said that the shoulder joint is the most mobile of all of our joints. For this mobility we give up stability, that is why it is that much more important to adhere to a good stability program. Within the shoulder complex there are many joints working and it is for that reason that it is best that your exercise program is set up specifically for you and it is done correctly and often initially under supervision of a trained therapist.
All of my active rehabilitation programs follow what I refer to as the ABCC's of Rehabilitation:
Activation - Activating the muscles (or area) that you are intending on rehabilitating. Especially when rehabilitating the shoulder, all the muscles of your shoulder joint and shoulder girdle need to be working properly
Breathing and Bracing - The shoulder joint allows for you to move your arm in many different directions, but if your abdominal area is not braced and shoulder blade is not set properly you run the risk of injuring your shoulder joint and the muscles surrounding that joint. Bracing properly is the mainstay of all shoulder rehabilitation programs. Breathing while bracing allows you to be active without the concern of further injury to an already problematic shoulder joint.
Centration - Ensure that your shoulder joint and your shoulder girdleare in their proper position means that all joints are centrated, or placed in the ideal location so that the muscles pulling at the joints are creating equal pressures and stability is maintained. Once the body starts to move, all tissues are loaded properly and unnecessary strain is not being placed on any tissues.
Coordination - Coordinating muscle activation with movement can be a great challenge, especially once an area has been injured or poor posture has changed the way you understand what normal is. To ensure that you are getting the most our of your rehabilitation program, you must start slow and develop good control of small movements prior to increasing loads and developing more complex and larger movements.
GOALS OF THIS Shoulder STABILIZATION PROGRAM
- To improve the static (resting) and dynamic (movement) postures of the shoulder joint which includes the glenohumeral (GH) joint (the actual shoulder joint), the scapulo-thoracic joint (your shoulder blade on the ribs) and your thoracic spine.
- To improve coordinated shoulder movement.
- To improve the strength, stability and endurance of the scapular stabilizers.
Some of the exercises and postural movements below are only part of the Shoulder Stabilization program that I use with my patients and are in no way to substitute a proper evaluation and treatment plan. Each patient is an individual and specific exercises are to be used for specific conditions.
Improving the Range of Motion in the Thoracic Spine is key. Here is a great set of stretches and active warm ups when you are doing upper body workouts or are having issues with your neck and shoulder regions.
Chair Stretch
A great break from sitting. To be done on an hourly basis when at a desk or sitting for prolonged periods of time.

STEP 1: Start by standing about one full arm length away from a chair. Place your hands on the chair with your feet hip width apart.

STEP 3: Take a deep breath in and then as you exhale tighten your abdominal muscles, arch your spine keeping your hands and hips in same position as Step 2.

STEP 2: Make sure your feet are pointing forward. Bend your knees and straighten your back so that you are parallel with the floor. Do not pull on the chair.

STEP 4: As you take a deep breath in, push your chest and belly towards the floor. Rest here for a moment and then return to Step 3. Repeat for a few minutes.
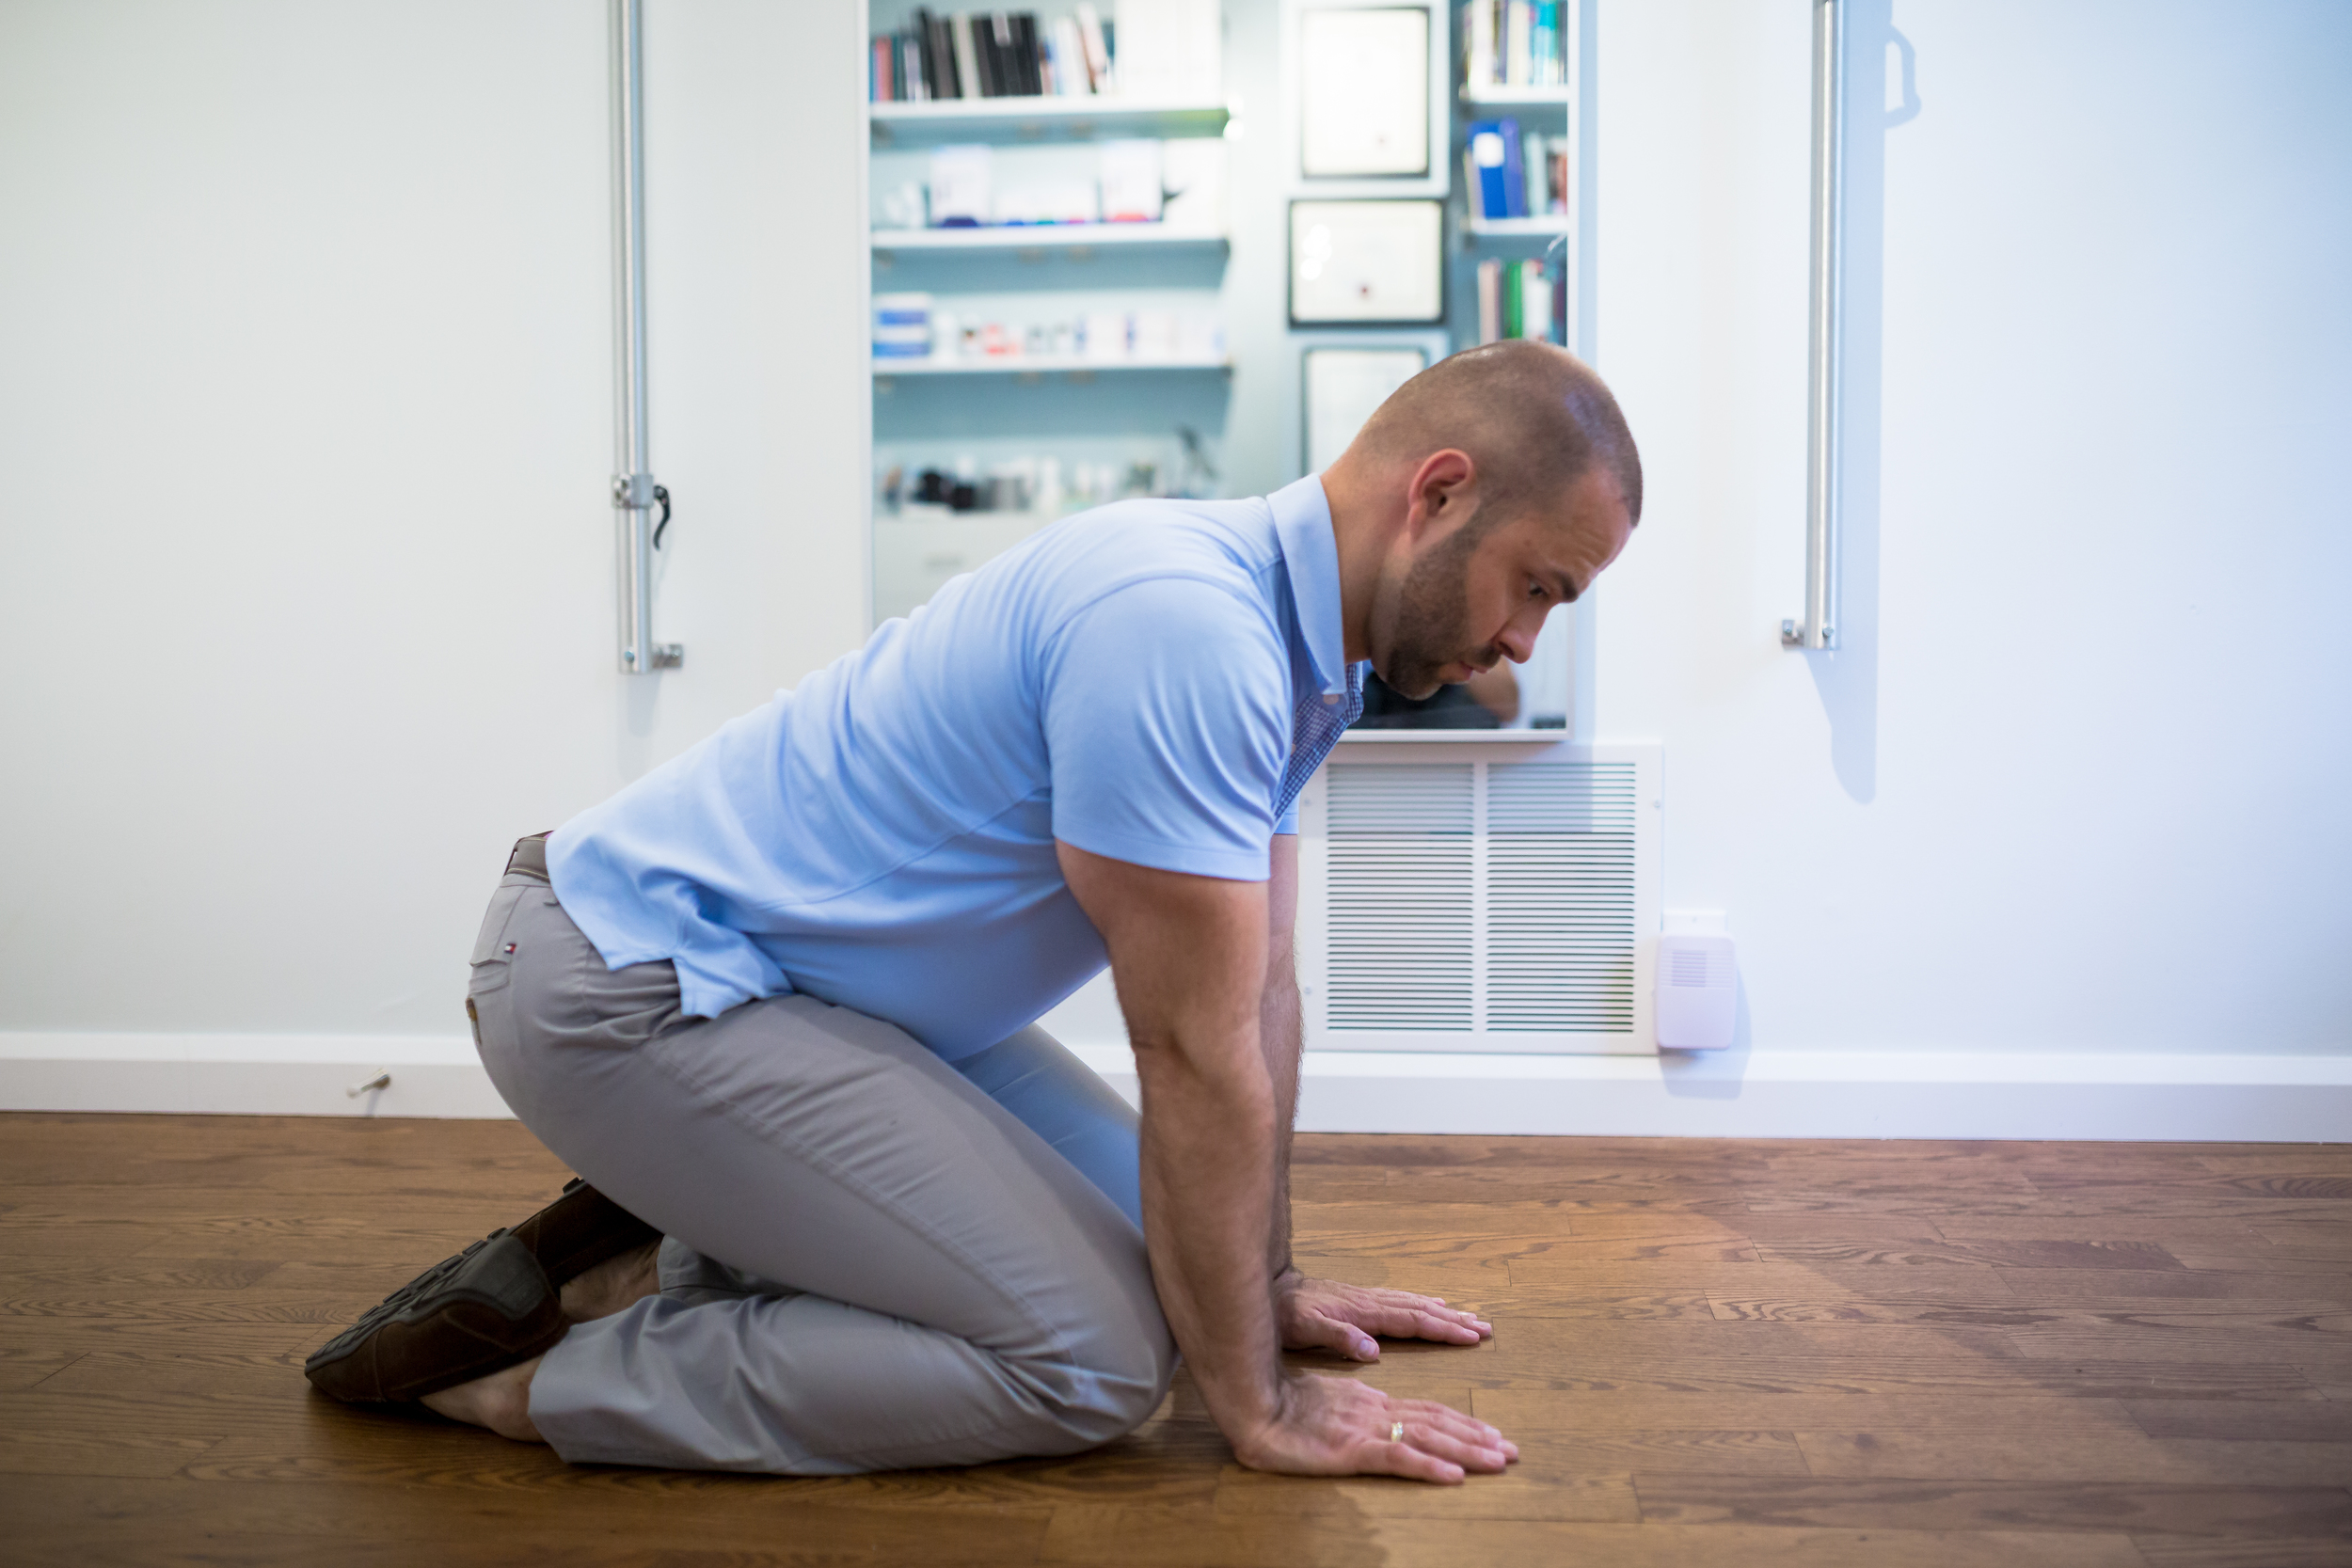
The Sphinx
If you wish to really improve the range of motion in your upper back which will help with your neck and shoulder condition, perform this as often as you can. Make sure the floor is soft on your knees and if you feel any cramping on your feet, come out of the position and then go back in. Remember, this position should be painless, everywhere. If you are experiencing any pain while doing this, feel free to contact me.

STEP 1: Begin by kneeling on the ground and sitting on your heels. Place your hands in front of your knees. Take a deep breath in and push your chest and belly towards your knees and hands.

STEP 2: As you start to exhale, begin arching your spine and push your body away from your hands and knees as you tighten your abdominal muscles. Breath in and repeat Step 1. Continue moving between these two positions for a few minutes.
Thoracic Spinal Rotations
If you are good with performing the Sphinx, move on the spinal rotation which will help improve the range of motion in your mid back and shoulders, while strengthening the stabilizers of your shoulder girdle. If you feel any pain with this, feel free to contact me at your convenience.
STEP 1: Begin by kneeling on the ground and sitting on your heels. Place your hands in front of your knees. If you need to place padding under your knees, do so to make this feel more comfortable.

STEP 2: Take your right arm off the floor and gently place your hand behind your ear. Make sure you keep your weight evenly distributed between your legs and your left hand on the floor. Take a breath, inhale and then as you exhale begin moving towards Step 3.
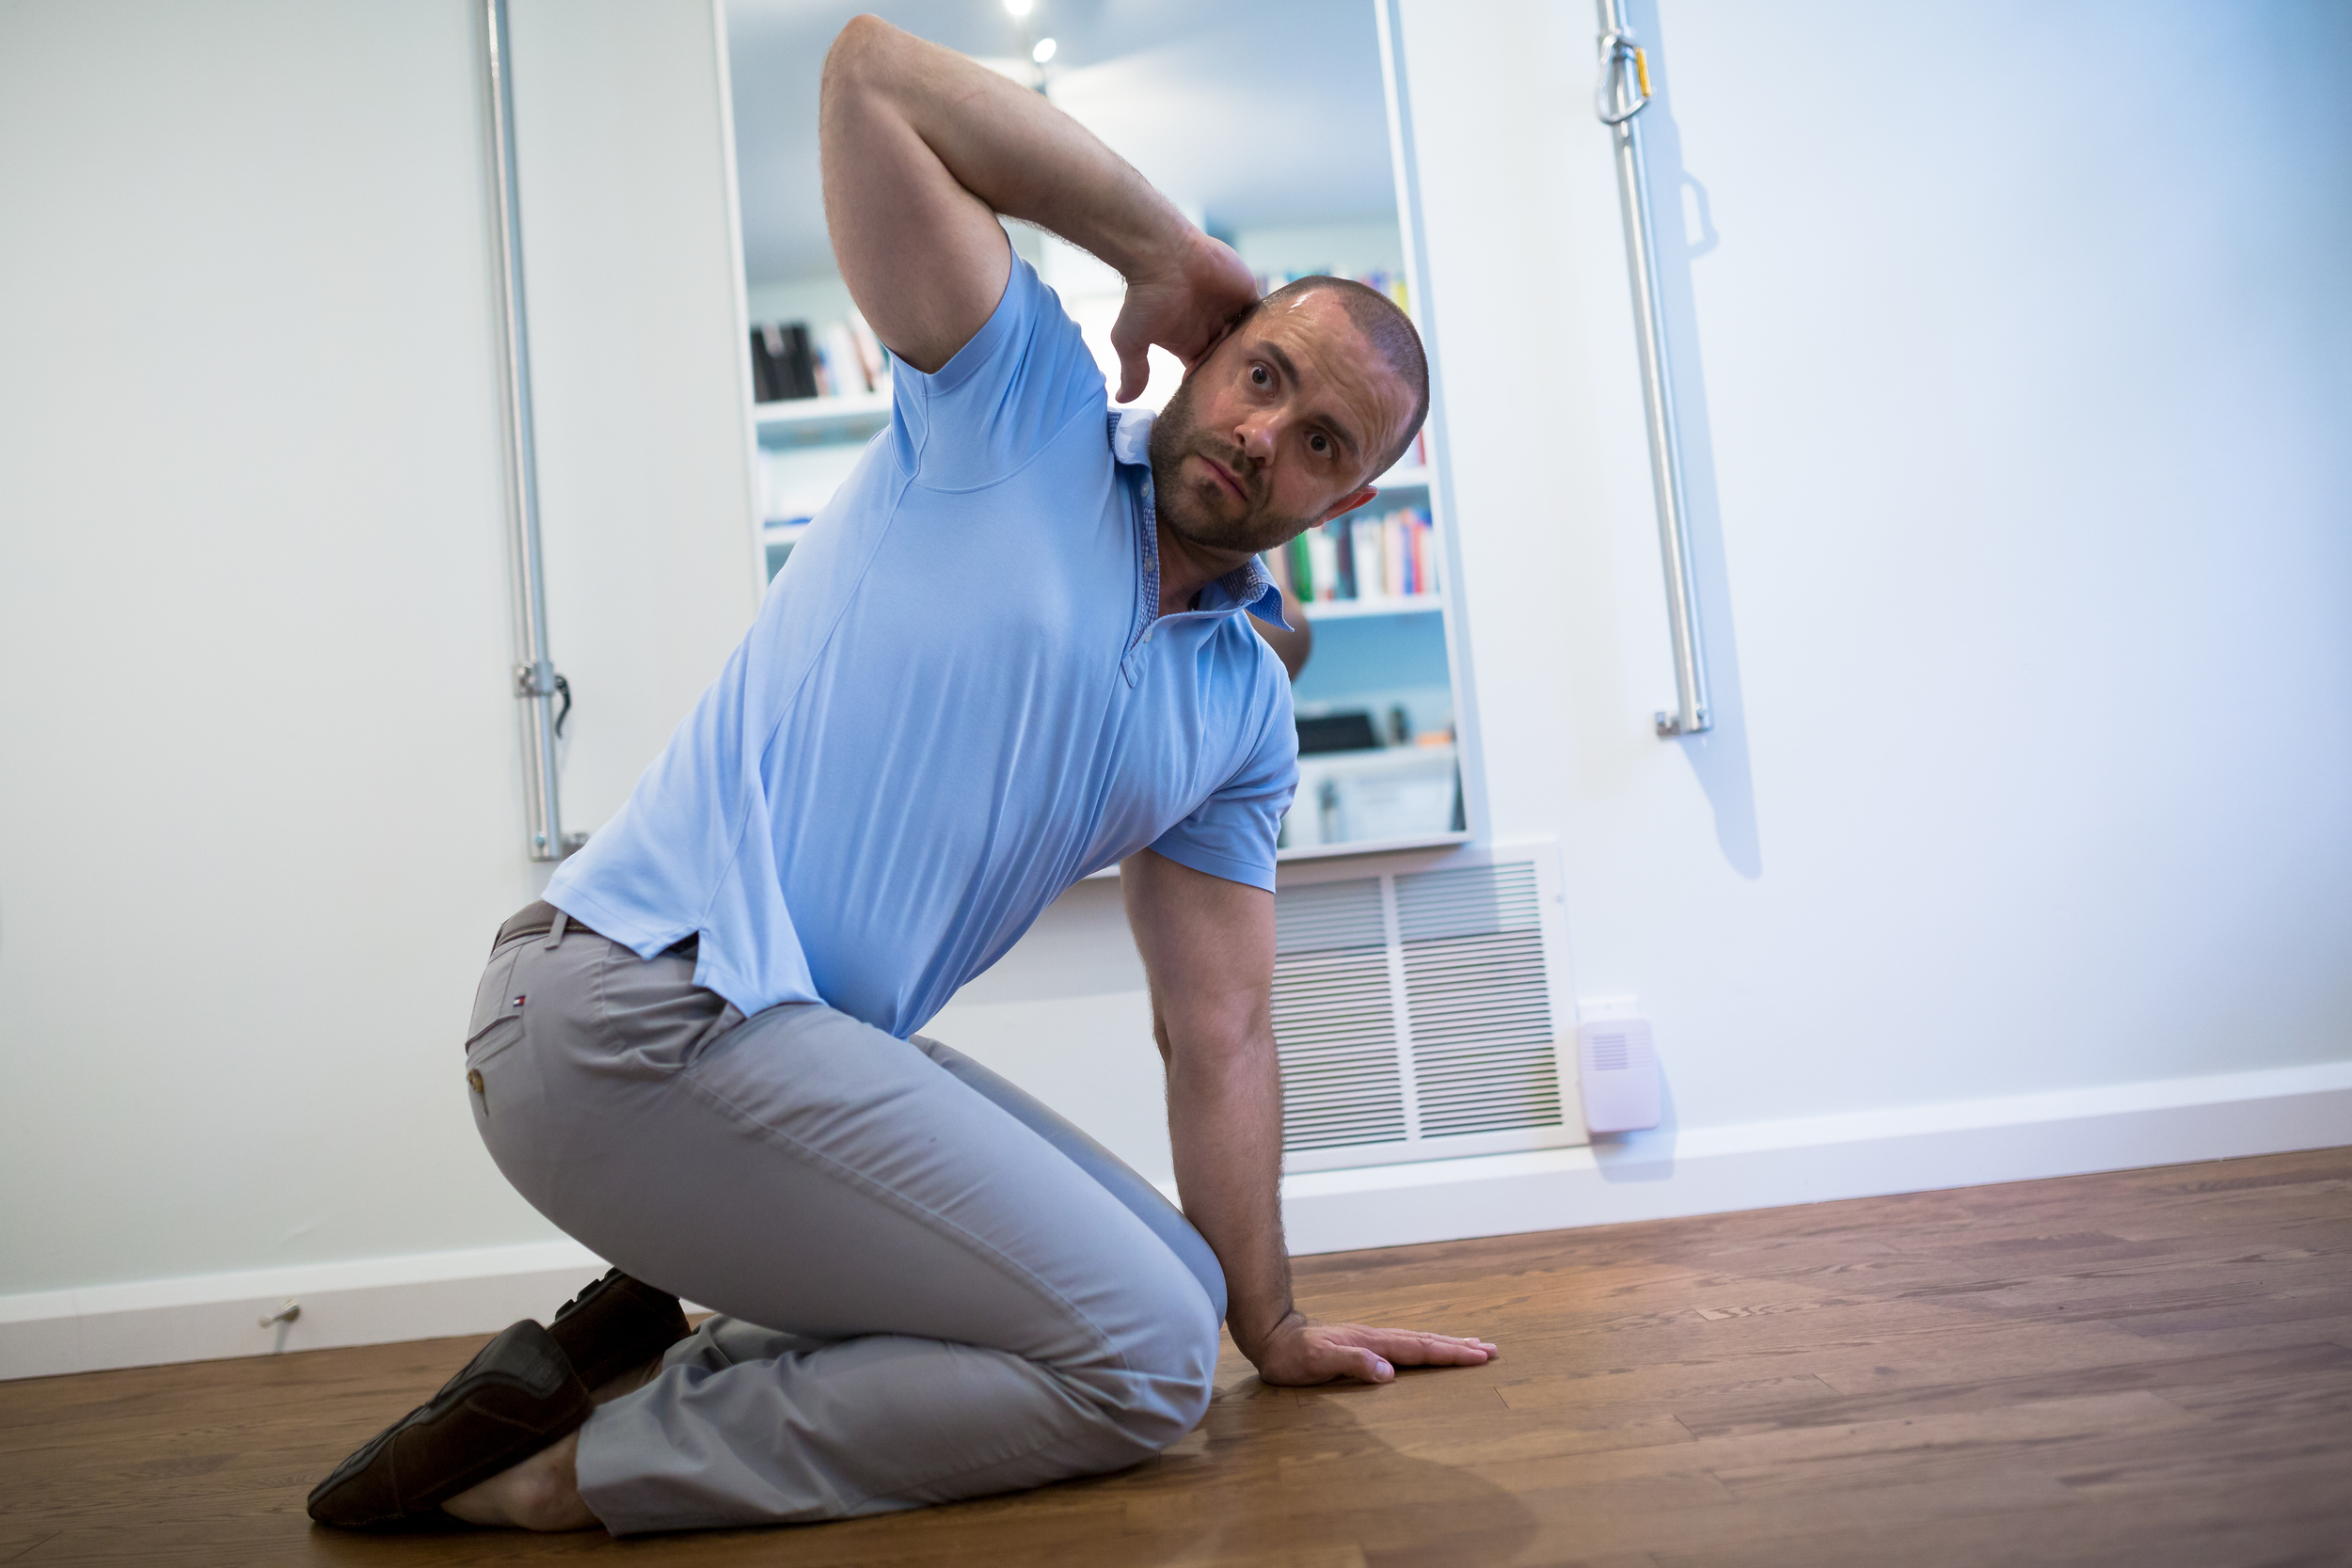
STEP 3: As you start to inhale, begin rotating towards the right and arch upwards. Try to keep your pelvis at the same position. Make certain you do not push down on your neck and head. Rotate as far as you can go with good form.

STEP 4: As you start to exhale, return to the Step 2 position. Repeat on the same side for 30-60 seconds and then switch sides.
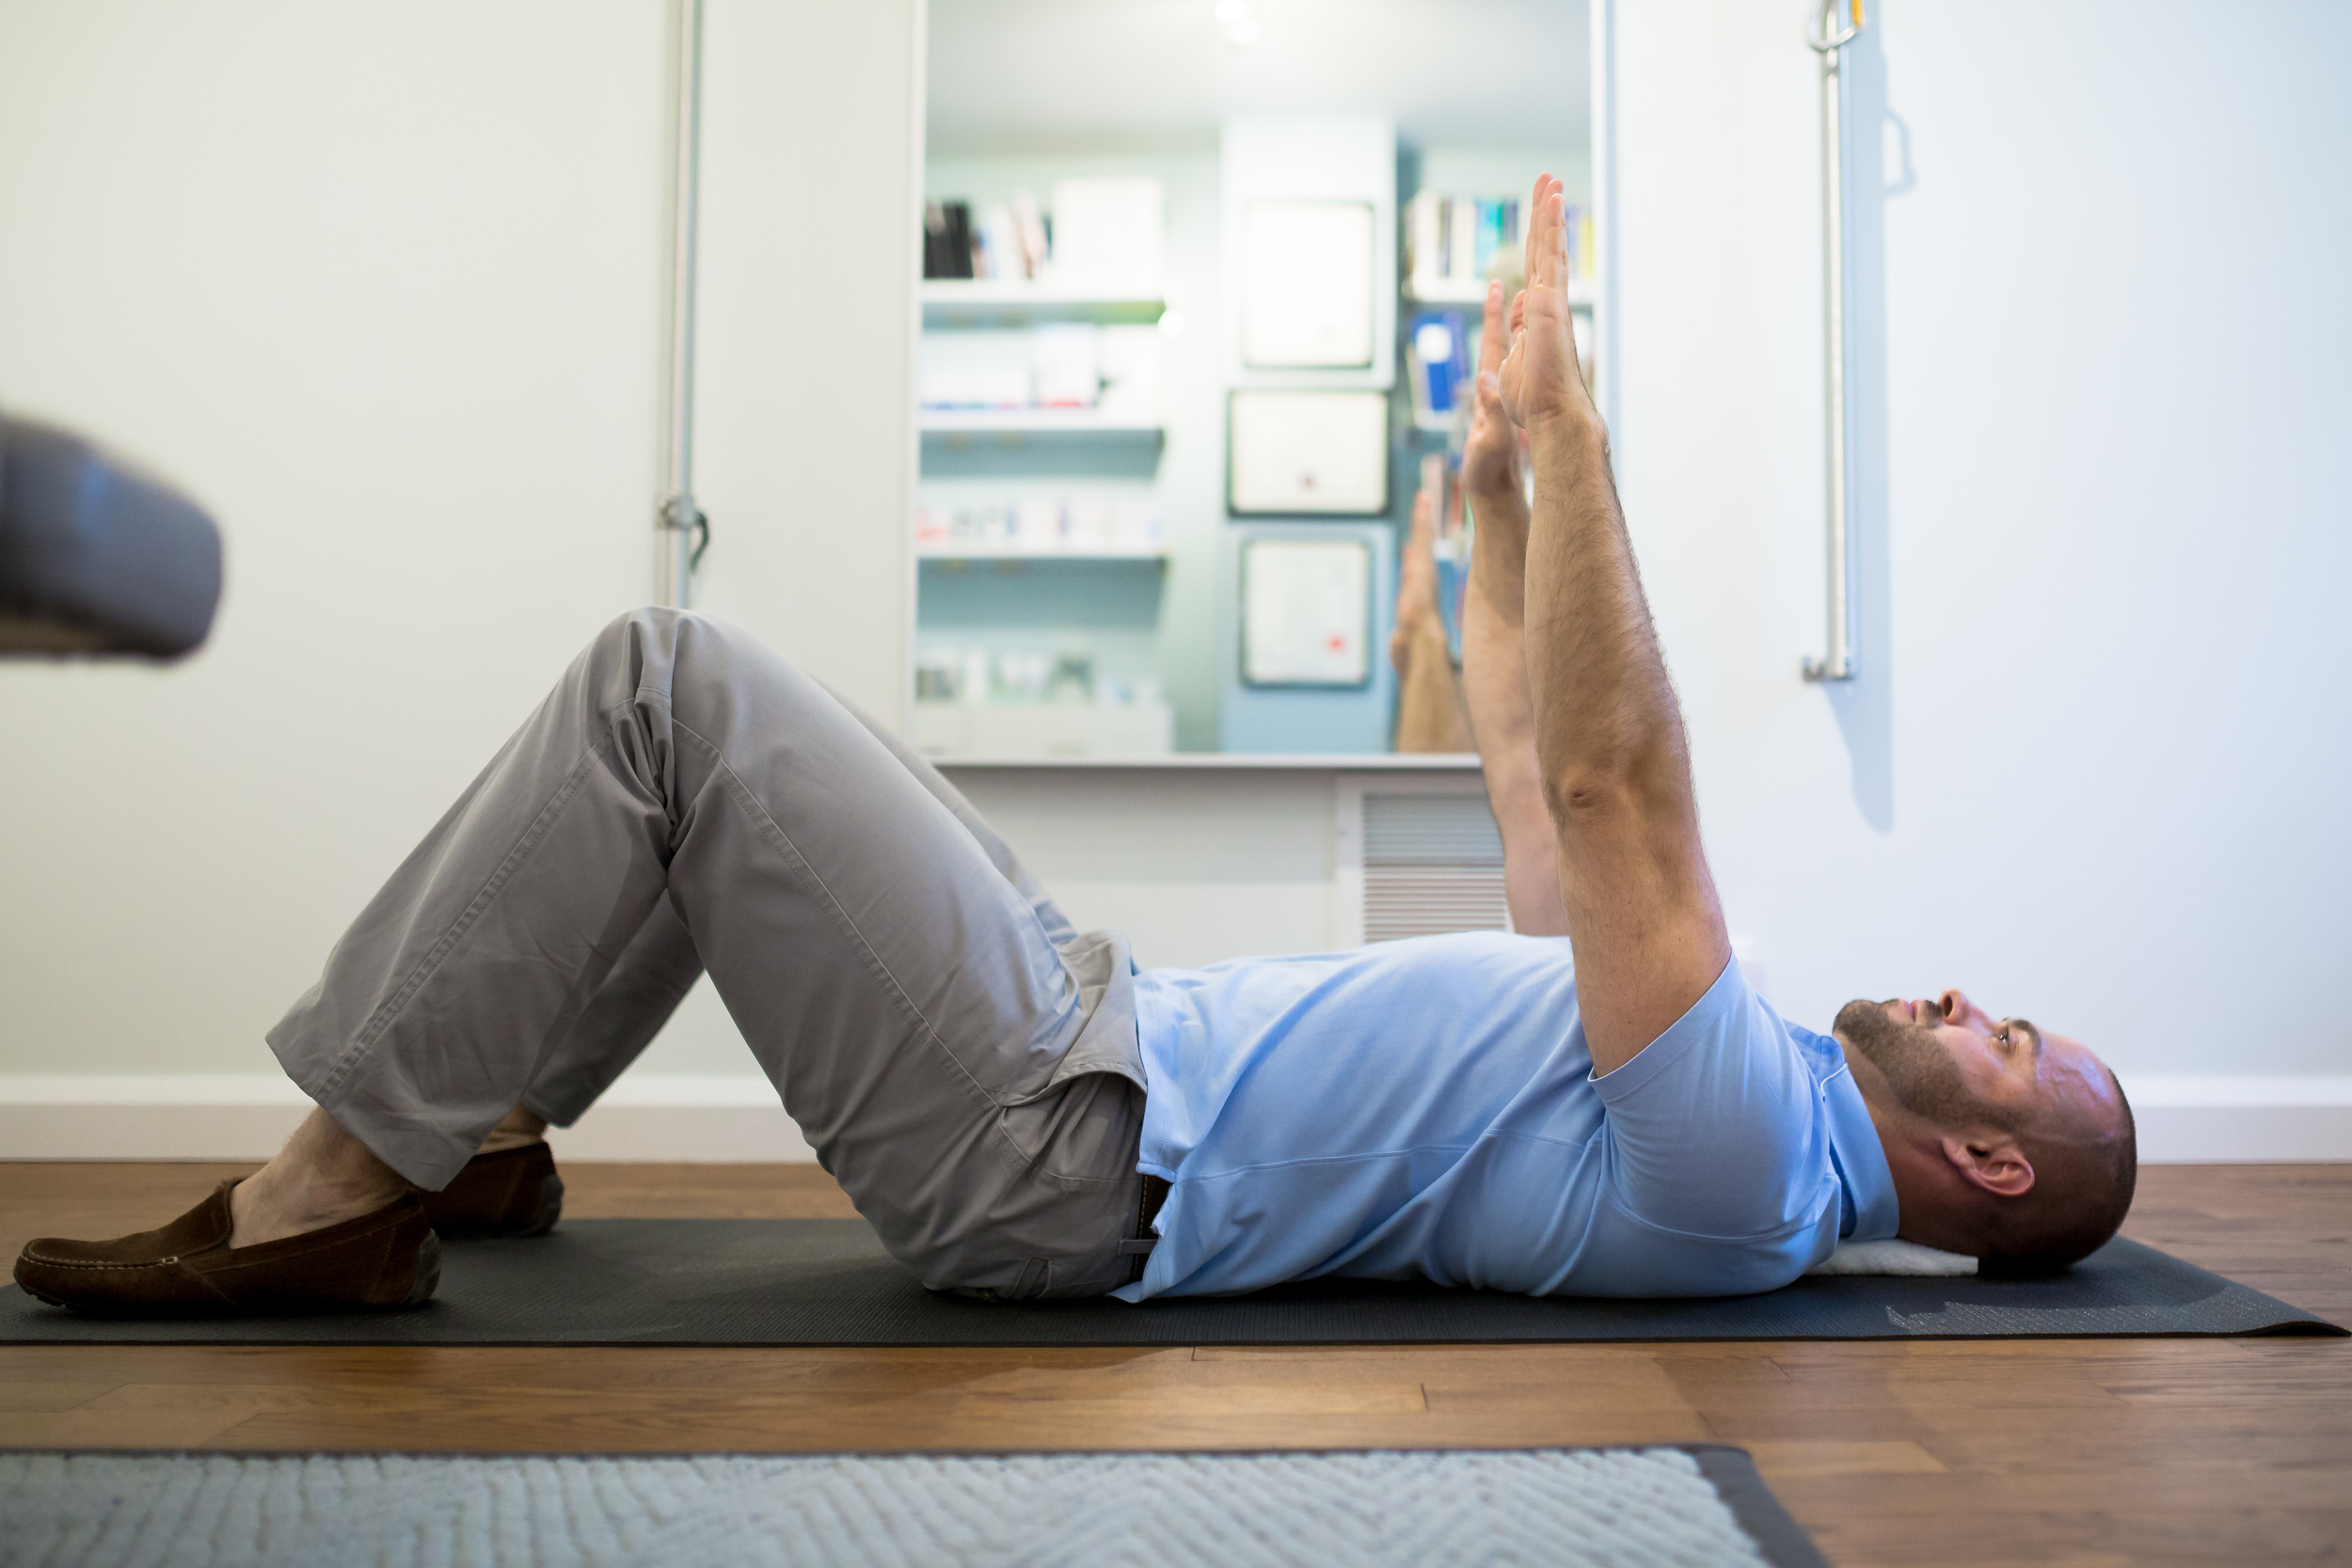
Shoulder Mobility on Floor with Towel
Often the issue with creating good stability withing the neck and shoulder regions is the inability to hold your shoulder blades in place. This exercise not only gets your muscles working properly it also opens up your chest in order to improve your posture.

STEP 1: Lay on your back with a towel that has been rolled up (about 2 - 3 inches or 5 - 7 cm) and placed along the spine. Try and keep the head on the floor.

STEP 3: As you maintain the abdominal brace and shoulder blade squeeze, bring your elbows to the floor next to your shoulders. As you keep your body braced, push your spine against the towel and your elbows against the floor.

STEP 5: Keeping your spine pressed against the towel slide your arms as high as you can without your hands leaving the floor and not loosing your abdominal brace It is much tougher than it looks, but very effective.
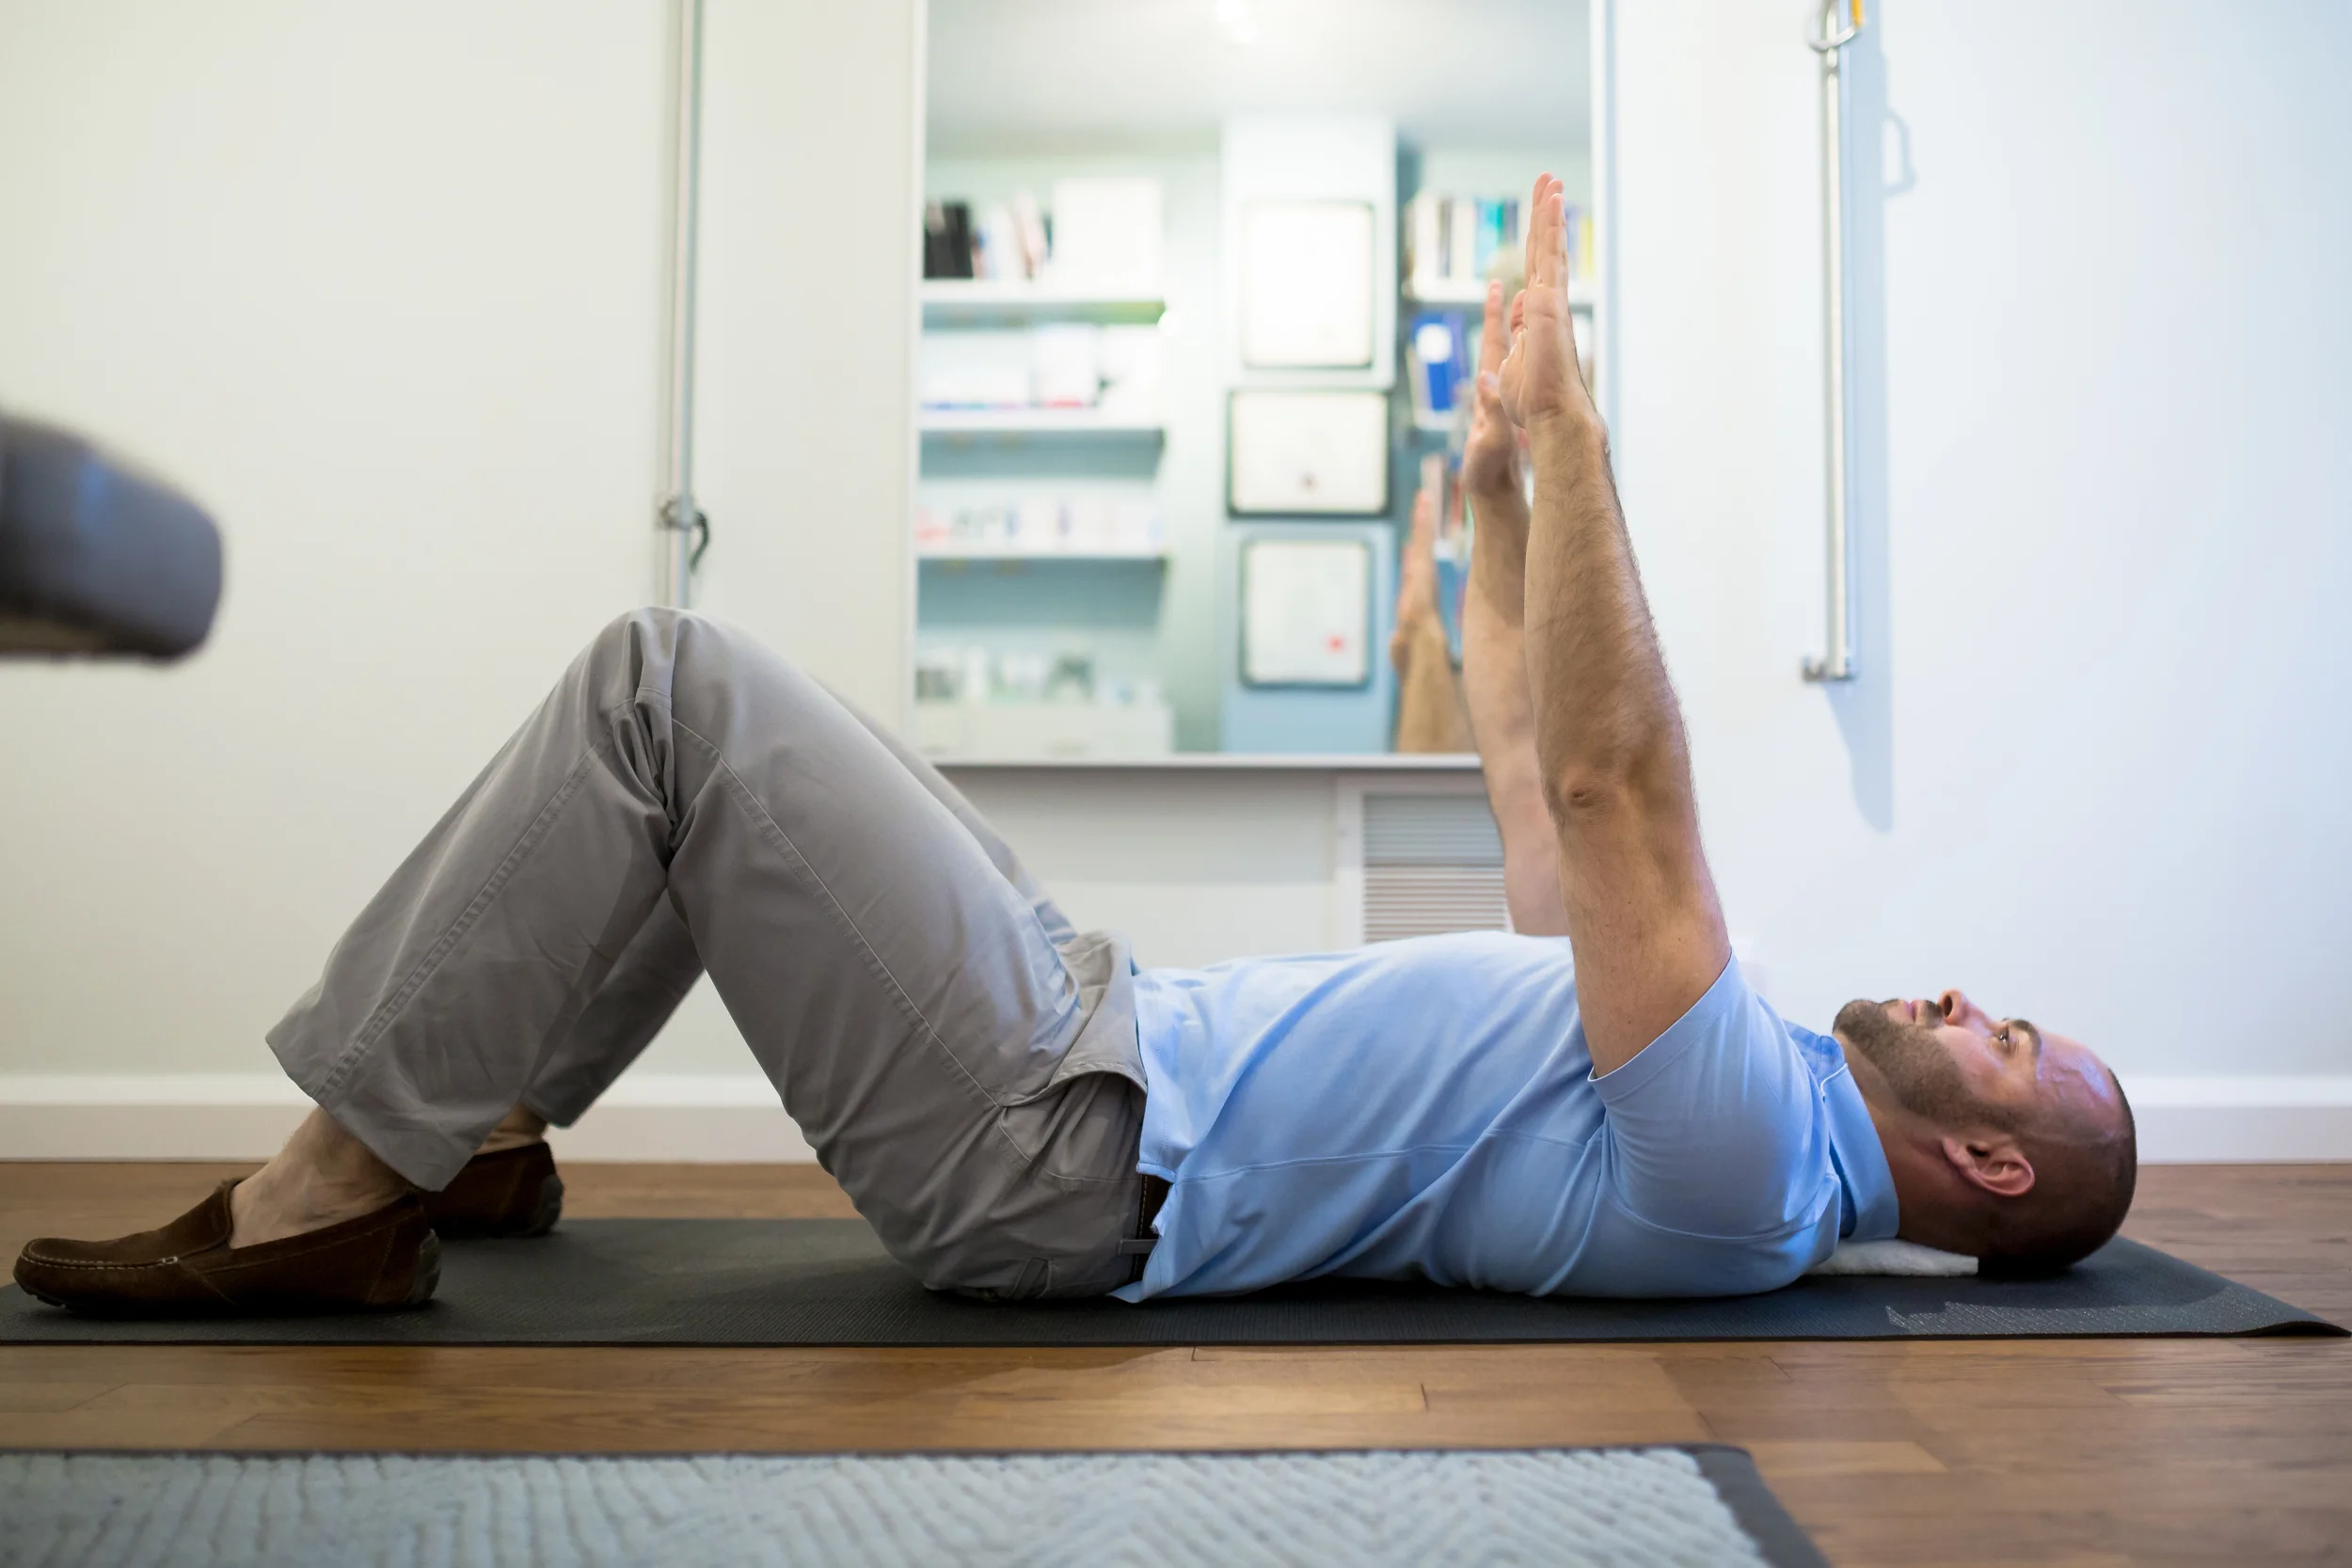
STEP 2: Bend your knees, perform an abdominal brace and gentle chin tuck (see below). Raise your hands over your shoulders and squeeze the towel with your shoulder blades.

STEP 4: Still maintaining the shoulder squeezed position and with your elbows pushing against the floor, externally rotate your shoulders so that hands touch at the level of your head.
STEP 6: After you have reached the highest position with proper form, go back to Step 2 and repeat. Repeat this a few times a day for one minute each time. You should not feel any pain during this movement, if you do, please stop and contact me.
Call Now to Start Your Neck & Shoulder Program Today
647.560.4495
CAUTION: The above exercises are only a guide and should be performed without pain. If you have any questions about if they are suitable for you and your condition, please feel free to contact me at your convenience.